
Developing raw, rural acreage into a thriving, self-sufficient homestead is one of the most rewarding endeavors a landowner can undertake. Yet, the leap from envisioning a peaceful countryside lifestyle to breaking ground involves navigating a web of logistical, structural, and environmental challenges. Without a clear master plan, rural developments can quickly suffer from unexpected site-prep expenses, delayed construction schedules, and inefficient layouts that make everyday chores unnecessarily difficult.
Success on rural acreage requires looking at your property as an integrated ecosystem. Rather than viewing your dwelling, workshops, animal shelters, and gardens as isolated projects, you must coordinate site grading, utility corridors, prevailing winds, and vehicular flow from day one. This comprehensive guide walks through the essential phases of planning and executing a homestead build from the ground up, providing actionable strategies to help you turn raw dirt into a durable, functional, and resilient property.
1. Master Planning the Acreage: Soil, Access, and Site Logistics
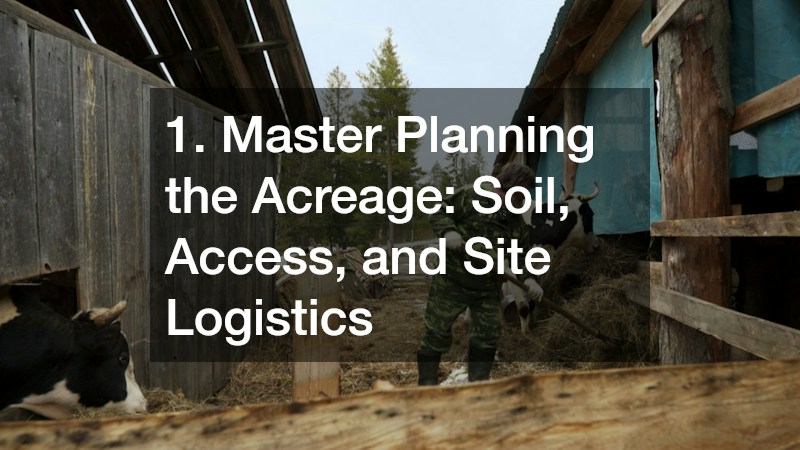
Before any framing begins or concrete is poured, you must understand the physical constraints and legal realities of your land. Rural parcels rarely come with plug-and-play building envelopes. Thorough upfront analysis saves thousands of dollars in remediation work down the road.
Begin by evaluating your property’s topography, soil composition, and native hydrology:
- Perc Testing and Soil Profiles: Conduct professional percolation tests early across multiple candidate sites on your parcel. Expansive clay soils or shallow bedrock dictate whether you can install an affordable gravity-fed septic drain field or require an engineered mound system.
- Drainage and Flood Pathways: Observe your land during heavy seasonal rainfall. Identify natural washes, seasonal swales, and alluvial fans. Structures must sit high enough on natural grade to ensure positive drainage away from foundations without shedding runoff directly onto lower-lying pasture lands.
- Sun and Wind Exposure: Map how the sun crosses your acreage across all four seasons. Orient living quarters and animal pens to capture winter solar heat while mitigating punishing summer sun and prevailing desert or valley wind gusts.
Access routes represent one of the most overlooked logistical hurdles in remote construction. Concrete transit mixers, flatbed semis, and crane rigs cannot navigate tight hairpin turns, steep unpaved grades, or soft sand washes. Early in your planning phase, carve out an all-weather access road built with a geotextile fabric underlayment and compacted aggregate base.
Establishing a designated material staging yard near your primary road access prevents site damage and delivery delays. Heavy materials must be dropped in an area where delivery trucks can enter and exit without getting stuck. Sourcing structural framing lumber, concrete admixtures, culvert piping, and perimeter fencing through a regional building material supplier ensures that deliveries are coordinated on transport vehicles suited for rugged unpaved county roads, cutting down on excessive split-load delivery fees and keeping your development schedule moving smoothly.
2. Establishing Off-Grid Infrastructure and Utility Corridors
Living outside city limits requires you to build your own mini-utility grid. Laying out your water, power, and waste disposal systems before erecting permanent structures ensures that trenches are dug efficiently and utility paths do not conflict with future construction phases.
Potable Water and Storage
Water dictates the carrying capacity of any rural parcel. If your land relies on well water, schedule exploratory drilling before finalizing the location of your home:
- Well Placement and Setbacks: County health codes mandate strict separation distances between wells, septic tanks, and livestock holding areas (frequently 100 feet or more from septic absorption fields).
- Storage Capacity: Rural wells can experience seasonal drawdowns or flow fluctuations. Install a storage tank system holding at least 2,500 to 5,000 gallons. This gravity-fed or pressure-boosted reserve protects against pump outages, provides essential household storage, and supplies pressurized water for wildland firefighting defense.
- Distribution Loops: Run looped main lines instead of dead-end lines to maintain consistent water pressure across household fixtures, outdoor hose hydrants, and livestock troughs.
Primary Power and Septic
Decide whether you will tie into grid power or install an independent renewable energy setup:
- Grid Extensions vs. Solar Arrays: Compare the upfront utility drop cost per foot against an off-grid solar-and-battery system. If utility poles are thousands of feet away, ground-mounted photovoltaic systems paired with modern lithium iron phosphate batteries often prove more economical.
- Septic Tank Sizing: Size your septic tank based on total bedroom count rather than current occupants, leaving headroom for future home expansions. Install cleanouts at every major bend along the sewer line to simplify long-term maintenance.
3. Selecting the Primary Residence: Structure, Envelope, and Framing

Your homestead residence must withstand harsh local weather while keeping operational energy costs low. In rural settings, home design balances durability, fire resistance, low maintenance, and cost-effective construction timelines.
Two primary structural approaches dominate contemporary acreage construction:
- Engineered Steel Shells: Erecting a metal building shell provides immense structural resilience against pests, rot, and wildfire embers. Teaming up with experienced barndominium builders allows you to construct a clear, open residential volume where the perimeter steel frame carries all structural loads. This approach eliminates the need for interior load-bearing walls, giving you total freedom to design spacious open-concept floor plans, incorporate vaulted great rooms, and finish the interior living quarters efficiently.
- Stick-Built Custom Homes: Homeowners seeking complex architectural roof profiles, specific passive solar massing, or regional vernacular aesthetics like territorial or craftsman styles often rely on custom home builders. These professionals coordinate every step from deep foundation excavation to precision carpentry, integrating local zoning guidelines, high-efficiency insulation packages, and resilient exterior cladding like fiber cement siding or stone veneers.
Regardless of framing type, focus on continuous insulation and thermal breaks. Spray foam insulation along roof decks and exterior walls reduces conditioned air loss, protects plumbing pipes hidden in attics, and keeps indoor temperatures stable through extreme day-to-night temperature swings.
4. Designing Passive Shading, Mudrooms, and Interior Wash Zones
Homestead living involves moving between dusty fields, muddy gardens, and your climate-controlled interior. Thoughtful floor plans include transition zones that maintain home cleanliness and enhance daily comfort.
Shaded Outdoor Living
In open rural landscapes, the sun beats down relentlessly on home facades, driving up cooling costs and wearing down finishes. Wrapping your living quarters in expansive outdoor shade creates an essential thermal barrier. Collaborating with seasoned porch builders to erect deep, covered patios—ideally ten to twelve feet deep—prevents direct solar heat gain through windows and doors while expanding your usable square footage. These shaded outdoor living areas serve as open-air dining rooms, resting spots after morning chores, and sheltered staging spots for boots, work vests, and clean footwear.
Functional Wash Zones and Plumbing Refinements
The transition between outdoor work and clean interior spaces centers on a heavy-duty mudroom. Install durable non-slip flooring such as stained concrete, slate, or porcelain tile that can withstand muddy work boots and wet dogs.
Connecting this entry point directly to a dedicated utility bathroom keeps grime out of the main house. When updating or laying out this zone, executing a focused bath remodeling project allows you to incorporate practical features:
- Tiled Walk-in Wet Rooms: Curbless, fully tiled shower stalls make it simple to rinse down dirty work apparel, clean muddy dogs, or wash field dirt off your boots without splashing surrounding drywall.
- High-Volume Drainage: Commercial-grade, oversized floor drains equipped with hair and sediment traps prevent blockages caused by garden soil and pet hair.
- Pressure-Balanced Low-Flow Fixtures: High-efficiency valves and fixtures preserve well water and prevent premature saturation of your septic drain field.
5. Workspaces, Machine Garages, and Utility Outbuildings
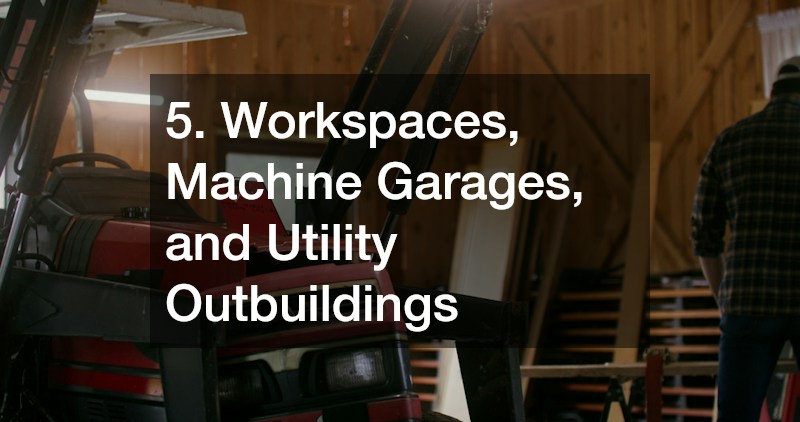
A functioning homestead requires dedicated space to maintain machinery, store tools, and secure daily-use vehicles. Without protected storage, high-value equipment degrades rapidly from sun exposure, blowing dust, and moisture.
Locate your workshop and storage hub within easy driving distance of the primary house, but buffer it acoustically so late-night fabrication or early-morning machine warming does not disturb the household. Building a dedicated, fully enclosed garage gives you a secure, weather-sealed environment to protect farm pickups, utility task vehicles, and zero-turn mowers.
Incorporate these practical elements when planning your workshop space:
- Reinforced Concrete Slabs: Pour slabs at least five to six inches thick with rebar reinforcement across equipment bays to support the weight of heavy tractors, backhoes, and vehicle jacks without cracking.
- Electrical Capacity: Run a minimum 200-amp sub-panel dedicated to the shop. Install multiple 220V/50-amp outlets for heavy welders, air compressors, and electric vehicle chargers, alongside well-spaced 120V circuits along every workbench wall.
- Overhead Clearance: Install high-lift or roll-up garage doors that measure at least ten to twelve feet tall, providing ample clearance for roll-over protection structures on tractors, loaded roof racks, and hay trailers.
- Fire Safety Buffers: Keep fuel storage tanks, solvent cabinets, and wood-curing racks organized along a designated exterior wall, maintaining a clear thirty-foot defensive space around the structure.
6. Animal Husbandry, Stalls, and Livestock Infrastructure
Raising animals requires careful planning around hygiene, daily feeding efficiency, animal psychology, and physical safety. Animal enclosures must be positioned downwind of the main residence to minimize odors and flies, while remaining close enough for convenient midnight welfare checks and reliable chore routines.
Good design starts with proper shelter construction:
- Ventilation and Airflow: Livestock produce significant moisture and ammonia. Enclosing animals in unvented structures leads to respiratory disease. Partnering with a skilled barn builder ensures your animal facilities include properly sized cupolas, ridge vents, open eaves, and Dutch doors that circulate fresh air while blocking freezing drafts.
- Paddock and Stall Footing: Establish clean, well-draining footing inside stalls and adjacent dry lots. Excavate native topsoil and backfill with crushed stone, followed by perforated rubber stall mats to protect animal joints and simplify stall cleaning.
- Secure Storage: Feed rooms must be built with tight tolerances, sheet-metal kick plates, and secure doors to lock out raccoons, rodents, and opportunistic livestock looking for grain.
If your property includes horses, standard agricultural structures often fall short of meeting safety needs. Engaging dedicated equine building services guarantees that run-in sheds, foaling stalls, and wash racks are constructed to prevent hoof and limb injuries. This includes installing rounded heavy-gauge metal corners, kick-resistant tongue-and-groove hardwood kickboards, recessed sliding hardware, and shatterproof lighting fixtures designed specifically for equine welfare.
7. Wide-Span Storage and Season-Extending Growing Structures
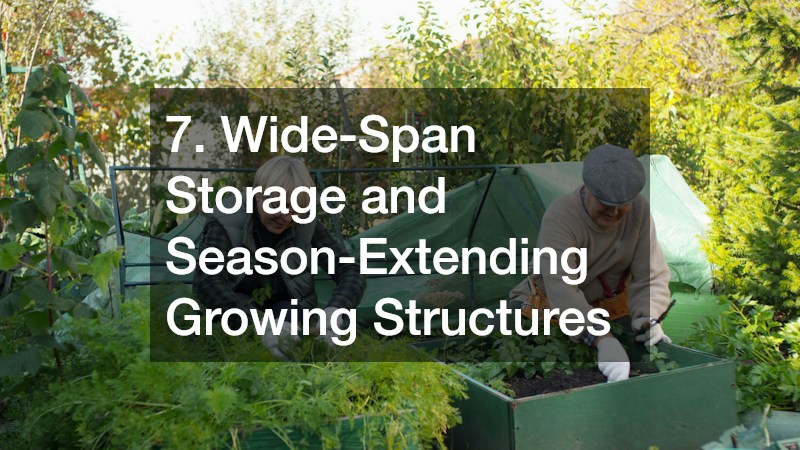
As a homestead matures, the need for bulk dry storage increases exponentially. Round hay bales, bulk soil amendments, long-bed flatbed trailers, and seasonal equipment require weather protection that simple post-and-beam sheds struggle to accommodate efficiently.
Large agricultural operations benefit greatly from unobstructed interior volumes. Contracting specialized clear span building services allows you to erect expansive metal structures that eliminate load-bearing interior posts. Without vertical columns interrupting your floor area, you can easily maneuver tractors, stack round hay bales three tiers high with a front-end loader, back long gooseneck trailers straight inside out of the elements, and reconfigure interior floor space as seasonal storage demands shift.
For homestead food production and nursery starts, heavy-duty rigid steel is not always the most economical choice. Working with a reputable hoop building company allows you to install modular, heavy-duty tubular steel frame structures covered with high-tensile woven polyethylene covers. These structures serve multiple roles across the homestead:
- High Tunnels and Greenhouses: Protect delicate heirloom vegetables from harsh winds and late frosts, extending your growing season by several months.
- Covered Livestock Run-Ins: Provide economical shade canopies and open-air loafing shelters for cattle, goats, and sheep out in rotational pasture systems.
- Seasonal Dry Storage: Offer a cost-effective covering for firewood seasoning, bulk mulch piles, and auxiliary farm implements without the cost of pouring a concrete foundation.
Moving Your Vision Forward
Building a complete rural homestead is a marathon, not a sprint. Success comes down to early planning: understanding your soil, respecting natural weather patterns, protecting access routes, and building sturdy, low-maintenance structures that serve your day-to-day workflow.
By mapping your land systematically, budgeting in clear phases, and hiring specialized trades who understand the unique demands of rural building, you avoid costly retrofits and build an enduring, functional homestead that supports you and your family for decades to come. Take the time to plan your acreage carefully before turning that first shovel of dirt, and let your long-term vision guide every step of the build.
